Table of Contents
- Why Field Team Communication Matters During Emergencies
- Building an Emergency Communication Plan for Employees
- Establishing Emergency Check-In Procedures for Field Workers
- Using Emergency Communication Templates for Employees
- Selecting Communication Tools for Field Teams
- Training Your Team for Emergency Situations
- Testing and Improving Your Emergency Communication System
- Frequently Asked Questions
Last Updated: October 16, 2026
Why Field Team Communication Matters During Emergencies
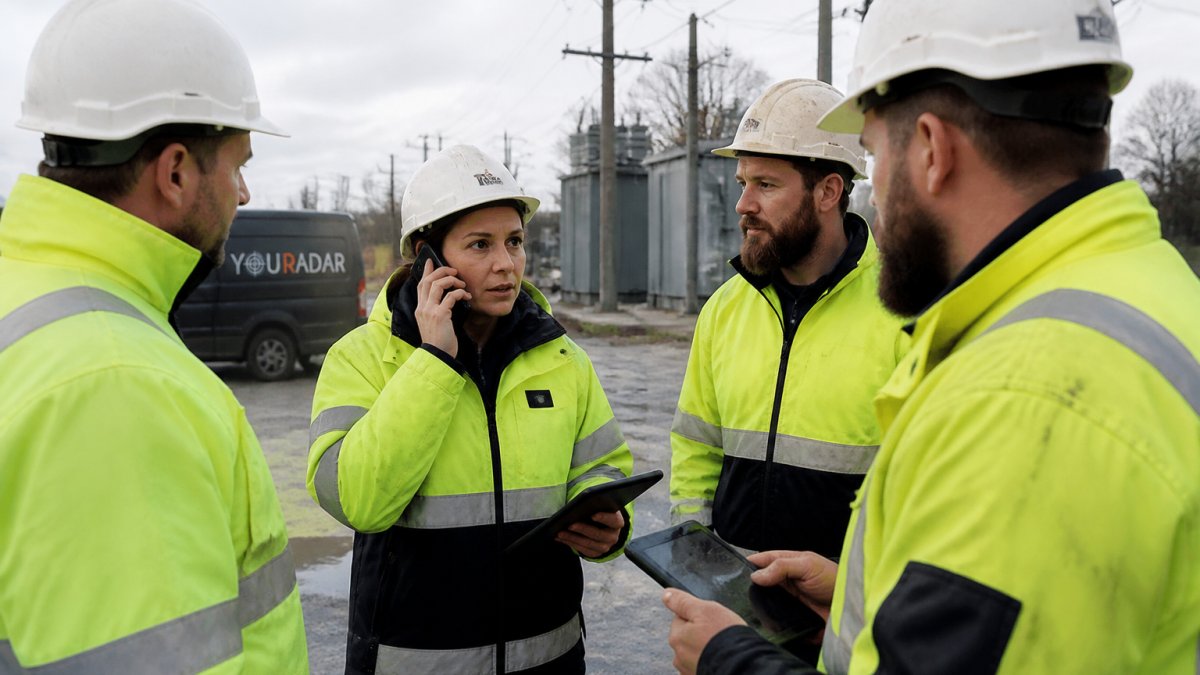
When an emergency hits, field teams are often first to know, on-site while office staff may be unaware anything’s wrong.
A delayed response to a gas leak, electrical hazard, or medical emergency can cost lives, and even non-life-threatening delays mean longer wait times and lost revenue.
The right approach combines clear protocols, reliable tools, and regular training, and this guide walks you through building one.
Building an Emergency Communication Plan for Employees
An emergency communication plan is your roadmap for when crisis strikes. Without one, teams improvise, and improvisation during emergencies leads to mistakes.
Your plan should spell out:
- Who communicates with whom. Define clear chains of command. Who alerts the dispatcher? Who notifies management? Who contacts customers?
- What information gets shared first. Not all details matter equally. In the first minutes, focus on safety and immediate actions. Secondary details come later.
- How decisions get made. Who has authority to call off jobs, redirect resources, or declare an emergency? Make this explicit so no one hesitates when seconds count.
Start by mapping your current workflow. Identify single points of failure, like a dispatcher who’s the only person who knows the full operation.
A written plan removes ambiguity: when an emergency happens, your team executes an agreed plan rather than debating what to do.
Establishing Emergency Check-In Procedures for Field Workers
Field workers need a fast, reliable way to report emergencies, and the office needs to know who’s safe, who needs help, and what’s happening on every job. A field-ready check-in procedure defines who reports what, to whom, and when.
Define the reporting chain by role
Map every role to a reporting destination:
- Field worker reports to the dispatcher or designated safety lead, not to a general office line.
- Dispatcher logs the report, assigns a response owner, and escalates to the operations manager when the incident meets escalation criteria (injury, evacuation, emergency services called, or site shutdown).
- Operations manager owns external communication (customer, property owner, emergency services liaison) and declares whether the job is suspended.
Set check-in triggers and timing
Be specific about triggers and timing:
- Immediate check-in triggers: any injury, any emergency service called, any evacuation, any hazard discovered (gas, electrical, structural), any vehicle accident, or any loss of contact beyond the expected interval.
- Scheduled check-ins: for high-risk work (confined space, lone work, severe weather), require a check-in at defined intervals, for example, every 30 or 60 minutes, with a missed check-in escalating automatically after a grace period.
- Response time expectations: state how fast the office acknowledges a check-in (for example, within two minutes for urgent reports) and how fast a worker must respond to an office-initiated check-in (for example, within five minutes before escalation).
Use a closed-loop check-in format
A check-in is complete only when the office confirms receipt and the worker confirms the instruction. Use a short, repeatable format:
- What happened (hazard, injury, accident, weather, customer emergency)
- Where (address, site, grid reference or landmark)
- Who is involved (names, roles, injury status)
The office reads back the critical details, location, hazard, and action taken, and the worker confirms. This read-back prevents the most common failure: a report sent but never understood.
Make check-ins easy enough to survive stress
Field workers resist check-in procedures that feel like extra work. Make the procedure fit the conditions workers actually face:
- Use one-tap or two-tap reporting in a mobile app for the common cases, with a free-text field for details.
- Keep the required information to three to five items; anything longer gets skipped under pressure.
- Allow photo uploads so workers can show the hazard rather than describe it.
Test the check-in workflow with a real timer during drills. If a worker cannot complete a check-in in under 60 seconds on a phone with wet hands and gloves, simplify the form until they can.
Assign a check-in owner on every shift
Name a check-in owner for each shift, usually the dispatcher or a designated field lead, to monitor, acknowledge, and escalate missed check-ins. Without a named owner, check-ins arrive but no one is accountable, and the procedure degrades into a log no one reads.
Using Emergency Communication Templates for Employees
Templates remove the burden of deciding what to say during high-stress moments, ensuring consistent messaging and fewer forgotten details.
Build templates for common emergency scenarios:
- Gas or electrical hazard discovered. “We’ve found [hazard type] at [address]. All personnel have evacuated. We’ve called [emergency service]. Do not re-enter the site until cleared by [authority].”
- Severe weather on-site. “Severe [weather type] moving into [area]. All outdoor work is suspended. Move to shelter. Check in when you’re safe.”
- Customer emergency or injury. “Customer [situation] at [address]. Emergency services called. We’re [action being taken]. Stay on-site and assist if safe to do so.”
Each template should be short, specific, and actionable, with placeholders for changing details (location, incident type, actions taken). Test them during drills.
Templates also help non-emergency communication: one for “we’re running late” or “job scope changed” reduces back-and-forth confusion and keeps customers informed.
Selecting Communication Tools for Field Teams
The right tools make communication fast and reliable; the wrong ones create friction workers avoid. In a real emergency, the network is often the first thing to go, so select tools as a layered system, not a single app.
Build a layered channel stack
Treat communication channels as layers, each covering the failure of the one above it:
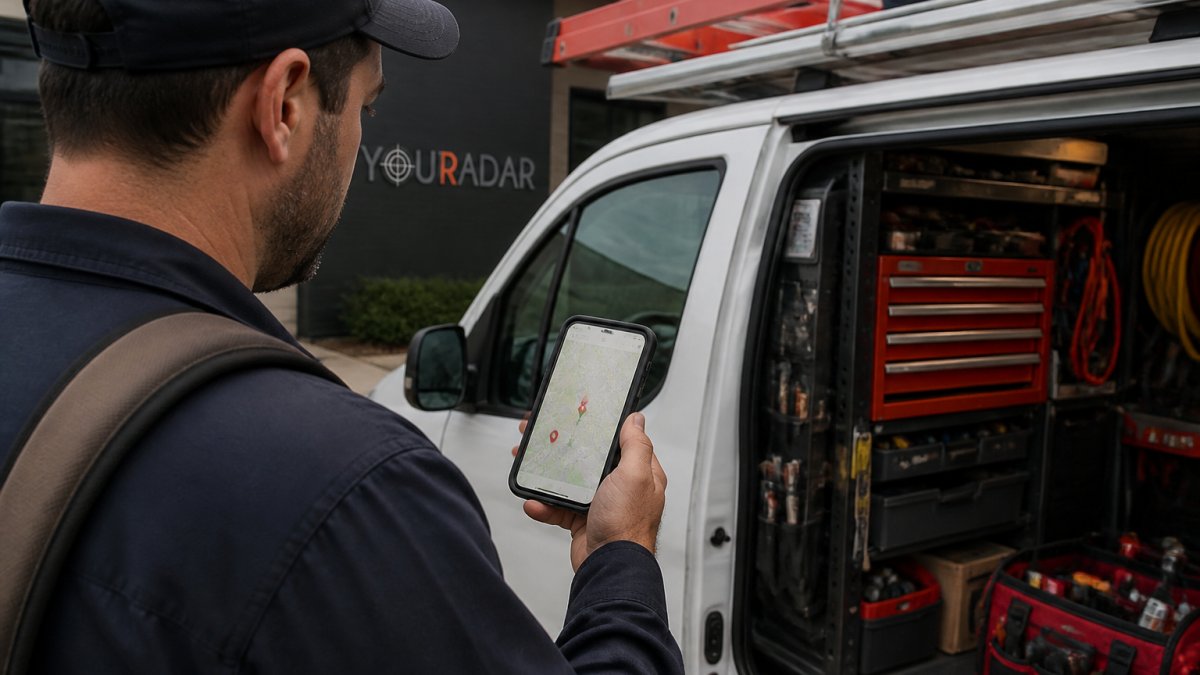
- Primary: mobile app with dispatch mapping. Best for detailed job information, location sharing, photo documentation, and one-tap check-ins. Requires data connectivity.
- Secondary: SMS-based alerts and check-ins. Works on any phone and survives many app failures, but depends on cellular service.
- Tertiary: two-way radios or push-to-talk. Independent of the cellular network for local communication, which makes them the reliable fallback in dead zones and during network overload.
- Last resort: satellite messenger or pre-arranged offline check-in. For remote sites and extended outages, a satellite device or a scheduled physical check-in point keeps the chain intact when nothing else works.
Plan for degraded networks and device failure
Emergencies often overload the very networks teams depend on. Build contingencies into tool selection:
- Dead zones: map known no-signal areas on your service routes and assign a radio or satellite fallback for those sites before work begins.
- Power loss: keep vehicle chargers, power banks, and spare radio batteries in every truck; a dead phone is a communication failure.
- Network overload: during a regional emergency, cellular data may be congested. SMS often gets through when data does not, and radios are unaffected, so the fallback must be usable without training on the day.
A fallback channel that workers have never used is not a fallback. Include the secondary and tertiary channels in every drill so the switch is automatic under stress.
Evaluate tools against field conditions
When choosing tools, prioritize:
- Mobile-first design. Field workers use phones, not computers. Tools must work on small screens and in poor signal conditions.
- Offline functionality. If signal drops, the tool should still function. Messages queue and send when connectivity returns.
- Simplicity. If workers have to think about how to use it, they won’t use it during an emergency. One-tap reporting is better than a multi-step form.
Match the tool to the situation
Channel choice should follow urgency and environment, not habit:
- Life-threatening emergency: voice call or radio first, then app-based logging once the immediate response is underway.
- Urgent but not life-threatening: app check-in with photo, backed by SMS acknowledgment.
- Remote or no-signal site: radio or satellite as the primary channel, with a scheduled check-in cadence.
Most trades businesses benefit from a combination: a mobile app for detailed job information and mapping, plus SMS or radio for quick emergency alerts. YourRadar combines dispatch mapping with mobile check-in, letting field workers report emergencies in seconds while keeping the office updated on real-time location and job status. It’s built for trades businesses, not generic workforce management, so it handles the workflows, job assignments, customer details, and photo documentation that matter to your operation.
Training Your Team for Emergency Situations
A great plan and good tools fail if your team hasn’t practiced using them.
Training should cover:
- When to report. Walk through scenarios. “If you smell gas, do you report immediately or finish the job first?” (Answer: immediately, always.)
- How to use the tools. Show workers step-by-step how to check in via app, send an alert, or call the dispatcher. Practice until it’s automatic.
- What information to report. Use your templates. Show workers what details matter and what doesn’t.
Run drills quarterly. Simulate a “worker injury” or “severe weather” and have teams execute the communication plan.
Include office staff in drills too: dispatchers need to practice receiving reports, logging information, and coordinating response, and managers need to know how to escalate and communicate with customers.
After each drill, debrief: What was confusing? What was slow? What worked well? Use that feedback to refine your plan and tools.
Testing and Improving Your Emergency Communication System
Building a system is one thing. Keeping it sharp is another.
Test regularly:
- Monthly check-in drills. Have a few workers check in via your system. Confirm the message reaches the office and gets logged correctly.
- Quarterly full-scale exercises. Simulate a realistic emergency with multiple workers, multiple locations, and office response. Time it. Document what happened.
- Annual plan review. Did your operation change? New locations? New roles? Update your communication plan and templates.
After each test, measure:
- Speed. How long from incident to first report? From report to office response?
- Accuracy. Did the office receive the right information?
- Clarity. Did everyone understand what was being communicated?
- Completeness. Were critical details missing?
Document improvements. Keep a log of what you tested, found, and changed, this creates institutional knowledge, and new workers see your commitment to communication and safety.
Emergencies test everything about your operation: field teams under pressure, limited information, high stakes.
YourRadar offers dispatch mapping, mobile check-ins, photo documentation, and automated logging, all designed so your teams can communicate instantly when it matters most.
Request a demo to see how YourRadar can improve field team communication during emergencies. We’ll show you how dispatch mapping, mobile check-ins, and automated incident logging work together to keep your teams connected and safe.
| Element | Purpose | Frequency |
|---|---|---|
| Written emergency plan | Defines roles, communication channels, decision authority | Review annually, update when operation changes |
| Check-in procedure | Ensures field workers can report incidents quickly | Active during emergencies; test monthly |
| Communication templates | Reduces confusion, ensures consistent messaging | Update annually; test during drills |
| Tool training | Builds muscle memory so workers act automatically | Initial onboarding, refresher quarterly |
| Drills and exercises | Identifies gaps, builds confidence, refines procedures | Monthly check-in drills, quarterly full-scale exercises |
| Post-incident review | Captures lessons learned, improves future response | After every emergency or drill |
Frequently Asked Questions
How can field teams communicate effectively during an emergency?
Field teams communicate effectively during emergencies by using multiple channels, establishing clear check-in procedures, and maintaining two-way communication between the field and office. Start with a primary communication method (mobile app or radio), have a backup channel ready, assign specific roles and responsibilities, and ensure all team members know the chain of command. Regular drills help teams practice these protocols so they respond instinctively when emergencies occur.
What should an emergency communication plan for employees include?
An emergency communication plan for employees must define roles, specify communication channels, outline check-in frequency, and list what information workers should report. Include decision-making authority, escalation procedures, and how to handle situations when primary communication fails. Add contact lists, backup communication methods, and accessibility considerations for all team members. Document the plan in writing and ensure every employee receives a copy and understands their responsibilities.
What tools help field teams communicate during emergencies?
Effective communication tools for field teams include mobile workforce management platforms with real-time dispatch mapping, two-way messaging, and automated check-in features. Backup options include mobile phones, radio systems, and satellite communicators for areas with poor coverage. Choose tools that work offline or with degraded connectivity, integrate with your existing systems, and are simple enough for non-technical staff to use under stress. YourRadar offers mobile-driven communication features designed specifically for trades businesses managing field operations.
How often should field teams check in during an emergency?
Check-in frequency depends on the emergency type and severity. During active emergencies, establish check-ins every 15 to 30 minutes, or as conditions change. Use structured messaging so workers report only essential information: location, status, safety concerns, and resource needs. Automate check-in reminders through your communication system to ensure consistency. After the immediate crisis, reduce frequency but maintain contact until the situation fully resolves. Document all check-ins for incident review and compliance purposes.